Lumix Panorama Assist

The Panasonic Lumix TZ6 and other Panasonic models come with a feature called Panorama Assist. Instead of taking a group of photos and stitching then together as soon as their taken, the Assist feature means that it does not do this for you, and it has to be stitched together later in PP.

The feature allows you to take a photo, and bring up an overlap of that photo on the next picture you are taking of the panorama. It takes a while to get the hang of, and if your photographing a landscape with no landmarks it is hard to allign the overlaps. However, the point of this post was to admit that I was impressed with the feature, and when using a decent overlapping program, such as Photoshop's Photomerge, the results are pretty good!

Below is an example of a landscape put together with 3 photos. Even when reviewing the photos it is hard to tell if you have matched them up correctly, but it seems to have worked pretty well.

 - James


Gritty Portrait Technique

Hi there,

This is my 1st post of the blog so I thought I would kick things off with a nice PP technique that I discovered in the Lightroom 2 book by Scott Kelby. This technique doesn't work well on all photos choose wisely. It tends to work best on portraits that are dark and have a lot of mood. But I have had success on photos that aren't. Just test it out!

Right here are the steps..

1. Enter the Develop module of Lightroom 2 and crank all these sliders up to +100.
Recovery, Fill Light, Contrast, Clarity and Vibrance. Now things look a little funky and not very good to be honest. But don't worry there is more to it than that.

2. Now lets get those over vibrant colours down a bit but keep the nice vibrant high lights. Do this by grabbing the Saturation slider and bringing it down to a level that looks nice to your eye.

3. Finish up by adding a nice Vignette effect to your picture. Do this by going to the Vignettes panel and adjust the lens correction amount and midpoint to a place that looks good.

Done! Hopefully your satisfied with the effect, I really like how it turns a somewhat boring portrait into one with a gritty vibrant look that belongs in a magazine!

To the left is a sample of the settings I used on one of the sample pics below.


- Craig

Presets


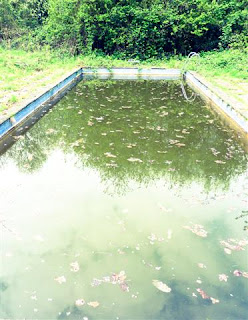
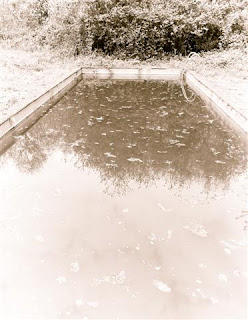
I've always been a fan of black and white photos, and there is more than one way to achieve a good b&w effect in Lightroom. However I stumbled upon some presets I found at Inside Lightroom, these ones being specifically for different tones and "old" effects.

The above was using the High Contrast 2 filter, and below using the Mexico Road filter. Obviously it is not the best photo to apply the "old" style filter too but it gives a good idea of the end result.
These filters can obviously be achieved easily on your own within Lightroom, but they were incredibley easy to download and use I feel have pretty decent results.

- James

The First Post!


Oast Houses
 Originally uploaded by interstella87
Thought I'd start off this new blog with a quick hello! Hopefully we can update this blog as often as we can with any new stuff!

I'd like to link my flickr site which can be found at Jim's Flickr in the right hand menu. Havent had the account for long but take a look at my photos if your interested, it may give an idea of not only my lack of skill but also how the Panasonic Lumix TZ6 actually performs!

I spent most of today out on my bike getting to grips with the TZ6, and I have to say it performed better than expected, check my flickr for some photos from today.

Over on the right is probably my favourite shot from the day, The Oast Houses.I darkened it and adjusted the vibrancy and saturation in Lightroom 2 which helped bring out the sky.

- James